Ранее я писал статьи C/C++ из Python (ctypes), C/C++ из Python (Kivy, ctypes) на Android. В них описывается процесс запуска на Linux и Android. Теперь поговорим как тоже самое сделать на iOS. В этой статье речь пойдет о сборке, необходимых инструментах, механизмах отладки и установки.
Код на C/C++ ни каких изменений не претерпел. Подробнее ознакомиться с описанием кода можно по ссылке на статью приведенной в начале данного материала.
Инструменты сборки
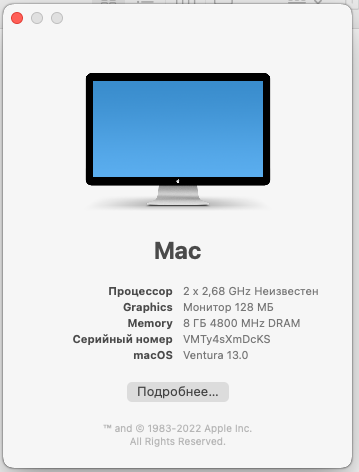
Сборка проводилась на виртуальной машине под управлением Mac OS Ventura 13, собрать на не Mac OS системах не получится. MacBook или iMac у меня нет. Статья по установке macOS на VMware Workstation.
Инструменты:
- Xcode
- App Developer
- brew
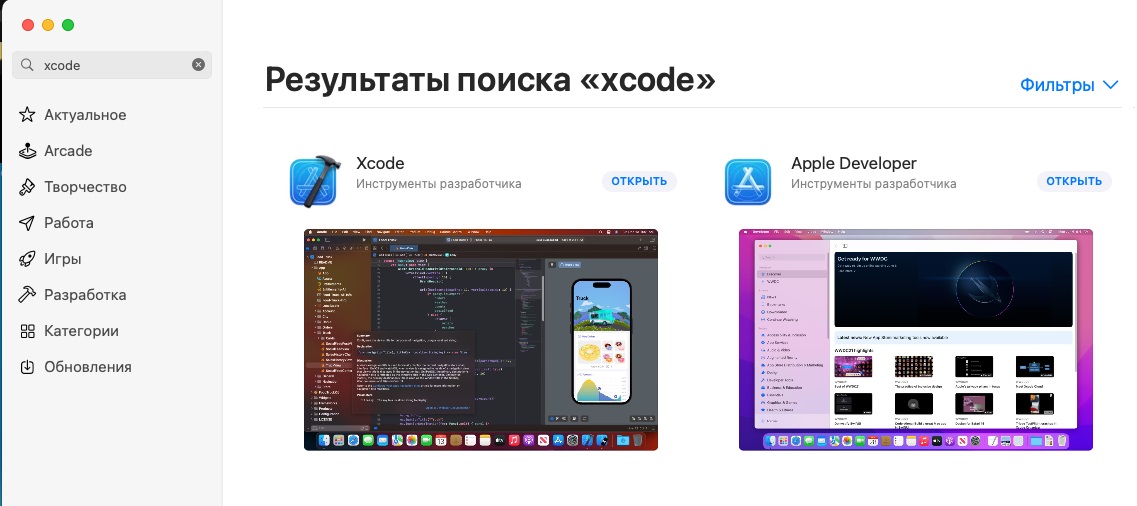
Xcode & App Developer устанавливаем через App Store.
Далее выполнить:
xcode-select --install # Xcode is not fully installed. Run this to complete the install: xcodebuild -runFirstLaunch
Установка brew:
/bin/bash -c "$(curl -fsSL https://raw.githubusercontent.com/Homebrew/install/HEAD/install.sh)"
И доустанавливаем все необходимые инструменты:
brew install autoconf automake libtool pkg-config sdl2 sdl2_image sdl2_ttf sdl2_mixer gstreamer brew link libtool
C
test.c:
#include "test.h" int a = 5; double b = 5.12345; char c = 'X'; int func_ret_int(int val) { return val; } double func_ret_double(double val) { return val; } char * func_ret_str(char *val) { return val; } char func_many_args(int val1, double val2, char val3, short val4) { return val3; } test_st_t * func_ret_struct(test_st_t *test_st) { return test_st; }
test.h:
#ifndef _TEST_H_ #define _TEST_H_ #ifdef __cplusplus extern "C" { #endif typedef struct test_st_s test_st_t; extern int a; extern double b; extern char c; int func_ret_int(int val); double func_ret_double(double val); char *func_ret_str(char *val); char func_many_args(int val1, double val2, char val3, short val4); test_st_t *func_ret_struct(test_st_t *test_st); struct test_st_s { int val1; double val2; char val3; }; #ifdef __cplusplus } #endif #endif /* _TEST_H_ */
Как компилировать :
clang
Для устройств на архитектуре arm64:
clang -c -isysroot /Applications/Xcode.app/Contents/Developer/Platforms/iPhoneOS.platform/Developer/SDKs/iPhoneOS.sdk -arch arm64 -fPIC -I./src/c -o src/python/ios/libs/arm64//test.o ./src/c/test.c clang -isysroot /Applications/Xcode.app/Contents/Developer/Platforms/iPhoneOS.platform/Developer/SDKs/iPhoneOS.sdk -arch arm64 -shared -o src/python/ios/libs/arm64//libtest.a src/python/ios/libs/arm64//test.o strip -x src/python/ios/libs/arm64//libtest.a
Можно собрать под более старые архитектуры armv6, armv7.
Для эмулятора, архитектура x86_64:
clang -c -isysroot /Applications/Xcode.app/Contents/Developer/Platforms/iPhoneSimulator.platform/Developer/SDKs/iPhoneSimulator.sdk -arch x86_64 -fPIC -I./src/c -o src/python/ios/libs/x86_64//test.o ./src/c/test.c clang -isysroot /Applications/Xcode.app/Contents/Developer/Platforms/iPhoneSimulator.platform/Developer/SDKs/iPhoneSimulator.sdk -arch x86_64 -shared -o src/python/ios/libs/x86_64//libtest.a src/python/ios/libs/x86_64//test.o strip -x src/python/ios/libs/x86_64//libtest.a
Далее соберем одну библиотеку которая будет работать на всех нужных нам архитектурах:
lipo -arch armv7 src/python/ios/libs/armv7/libtest.a -arch arm64 src/python/ios/libs/arm64/libtest.a -arch x86_64 src/python/ios/libs/x86_64/libtest.a -create -output src/python/ios/libs/libtest.a
Посмотрим что получилось
bash-3.2$ lipo -info src/python/ios/libs/libtest.a Architectures in the fat file: src/python/ios/libs/libtest.a are: armv7 x86_64 arm64 bash-3.2$
На этом работа с библиотекой на C закончена.
C++
test.cpp:
#include "test.hpp" /** * Методы класса **/ std::string test::ret_str(std::string val) { std::cout << "C get ret_str: " << val << std::endl; return val; } int test::ret_int(int val) { std::cout << "C get ret_int: " << val << std::endl; return val; } double test::ret_double(double val) { std::cout << "C get ret_double: " << val << std::endl; return val; } /** * Обвязка C для методов класса C++ **/ // Создаем класс test, и получаем указатель на него. test *test_new() { return new test(); } // Удаляем класс test. void test_del(test *test) { delete test; } /* * Вызов методов класса. */ // Обертка над методом ret_str char *test_ret_str(test *test, char *val) { // char * к std::string std::string str = test->ret_str(std::string(val)); // std::string к char * char *ret = new char[str.length() + 1]; strcpy(ret, str.c_str()); return ret; } // Обертка над методом ret_int int test_ret_int(test *test, int val) { return test->ret_int(val); } // Обертка над методом ret_double double test_ret_double(test *test, double val) { return test->ret_double(val); } /* * Получение переменных класса. */ // Обертка для получения a int test_get_a(test *test) { return test->a; } // Обертка для получения b double test_get_b(test *test) { return test->b; } // Обертка для получения c char test_get_c(test *test) { return test->c; }
test.hpp:
#ifndef _TEST_HPP_ #define _TEST_HPP_ #include <iostream> #include <string> class test { public: int a = 5; double b = 5.12345; char c = 'X'; std::string ret_str(std::string val); int ret_int(int val); double ret_double(double val); }; #ifdef __cplusplus extern "C" { #endif test *test_new(); void test_del(test *test); char *test_ret_str(test *test, char *val); int test_ret_int(test *test, int val); double test_ret_double(test *test, double val); int test_get_a(test *test); double test_get_b(test *test); char test_get_c(test *test); #ifdef __cplusplus } #endif #endif
Как компилировать :
clang++
Для устройств на архитектуре arm64:
clang++ -c -isysroot /Applications/Xcode.app/Contents/Developer/Platforms/iPhoneOS.platform/Developer/SDKs/iPhoneOS.sdk -arch arm64 -fPIC -I./src/c -o src/python/ios/libs/arm64//test.pp.o ./src/c/test.cpp clang++ -isysroot /Applications/Xcode.app/Contents/Developer/Platforms/iPhoneOS.platform/Developer/SDKs/iPhoneOS.sdk -arch arm64 -shared -o src/python/ios/libs/arm64//libtestpp.a src/python/ios/libs/arm64//test.pp.o strip -x src/python/ios/libs/arm64//libtestpp.a
Можно собрать под более старые архитектуры armv6, armv7.
Для эмулятора, архитектура x86_64:
clang++ -c -isysroot /Applications/Xcode.app/Contents/Developer/Platforms/iPhoneSimulator.platform/Developer/SDKs/iPhoneSimulator.sdk -arch x86_64 -fPIC -I./src/c -o src/python/ios/libs/x86_64//test.pp.o ./src/c/test.cpp clang++ -isysroot /Applications/Xcode.app/Contents/Developer/Platforms/iPhoneSimulator.platform/Developer/SDKs/iPhoneSimulator.sdk -arch x86_64 -shared -o src/python/ios/libs/x86_64//libtestpp.a src/python/ios/libs/x86_64//test.pp.o strip -x src/python/ios/libs/x86_64//libtestpp.a
Далее соберем одну библиотеку которая будет работать на всех нужных нам архитектурах:
lipo -arch armv7 src/python/ios/libs/armv7/libtestpp.a -arch arm64 src/python/ios/libs/arm64/libtestpp.a -arch x86_64 src/python/ios/libs/x86_64/libtestpp.a -create -output src/python/ios/libs/libtestpp.a
Посмотрим что получилось
bash-3.2$ lipo -info src/python/ios/libs/libtestpp.a Architectures in the fat file: src/python/ios/libs/libtestpp.a are: armv7 x86_64 arm64 bash-3.2$
Python
Здесь нам понадобится фреймворк Kivy.
Установка kivy
pip3 install kivy-ios Cython
Установив kivy приступим к созданию тестовой программы. Создадим папку под нее:
mkdir ios cd ios
Теперь создадим main.py, это точка запуска нашей программы.
touch main.py
И заполним его:
#!/usr/bin/python3 #-*- coding: utf-8 -*- import os import sys import ctypes, ctypes.util import kivy kivy.require("1.9.1") from kivy.app import App from kivy.uix.button import Button # class in which we are creating the button class ButtonApp(App): def build(self): # use a (r, g, b, a) tuple btn = Button(text ="Push Me !", font_size ="20sp", background_color = (1, 1, 1, 1), color = (1, 1, 1, 1), size_hint = (.2, .1), pos_hint = {'x':.4, 'y':.45}) # bind() use to bind the button to function callback btn.bind(on_press = self.callback) return btn # callback function tells when button pressed def callback(self, event): exit(0) ## # Старт. ## if __name__ == "__main__": test = None # Загрузка библиотеки try: test = ctypes.CDLL('libs/libtest.a') except OSError as e: print(str(e)) exit(0) ### ## C ### print("ctypes\n") print("C\n") ## # Работа с функциями ## # Указываем, что функция возвращает int test.func_ret_int.restype = ctypes.c_int # Указываем, что функция принимает аргумент int test.func_ret_int.argtypes = [ctypes.c_int, ] # Указываем, что функция возвращает double test.func_ret_double.restype = ctypes.c_double # Указываем, что функция принимает аргумент double test.func_ret_double.argtypes = [ctypes.c_double] # Указываем, что функция возвращает char * test.func_ret_str.restype = ctypes.c_char_p # Указываем, что функция принимает аргумент char * test.func_ret_str.argtypes = [ctypes.POINTER(ctypes.c_char), ] # Указываем, что функция возвращает char test.func_many_args.restype = ctypes.c_char # Указываем, что функция принимает аргументы int, double. char, short test.func_many_args.argtypes = [ctypes.c_int, ctypes.c_double, ctypes.c_char, ctypes.c_short] print('Работа с функциями:') print('ret func_ret_int: ', test.func_ret_int(101)) print('ret func_ret_double: ', test.func_ret_double(12.123456789)) # Необходимо строку привести к массиву байтов, и массив байтов к строке. print('ret func_ret_str: ', test.func_ret_str('Hello!'.encode('utf-8')).decode("utf-8")) print('ret func_many_args: ', test.func_many_args(15, 18.1617, 'X'.encode('utf-8'), 32000).decode("utf-8")) ## # Работа с переменными ## print('\nРабота с переменными:') # Указываем, что переменная типа int a = ctypes.c_int.in_dll(test, "a") print('ret a: ', a.value) # Изменяем значение переменной. a.value = 22 a = ctypes.c_int.in_dll(test, "a") print('new a: ', a.value) # Указываем, что переменная типа double b = ctypes.c_double.in_dll(test, "b") print('ret b: ', b.value) # Указываем, что переменная типа char c = ctypes.c_char.in_dll(test, "c") print('ret c: ', c.value.decode("utf-8")) ## # Работа со структурами ## print('\nРабота со структурами:') # Объявляем структуру в Python аналогичную в C class test_st_t(ctypes.Structure): _fields_ = [('val1', ctypes.c_int), ('val2', ctypes.c_double), ('val3', ctypes.c_char)] # Указываем, что функция возвращает test_st_t * test.func_ret_struct.restype = ctypes.POINTER(test_st_t) # Указываем, что функция принимает аргумент void * test.func_ret_struct.argtypes = [ctypes.c_void_p] # Создаем структуру test_st = test_st_t(19, 3.5, 'Z'.encode('utf-8')) # Python None == Null C # ret = test.func_ret_struct(None) # print('ret func_ret_struct: ', ret) # Если передали None, то его и получим назад ret = test.func_ret_struct(ctypes.byref(test_st)) # Полученные данные из C print('ret val1 = {}\nret val2 = {}\nret val3 = {}'.format(ret.contents.val1, ret.contents.val2, ret.contents.val3.decode("utf-8"))) ### ## C++ ### print("\n\nC++\n") # Загрузка библиотеки try: testpp = ctypes.CDLL('libs/libtestpp.a') except OSError as e: print(str(e)) exit(0) # Указываем, что функция возвращает указатель testpp.test_new.restype = ctypes.c_void_p # Создание класса test test = testpp.test_new() ## # Работа с методами ## # Указываем, что функция возвращает char * testpp.test_ret_str.restype = ctypes.c_char_p # Указываем, что функция принимает аргумент void * и char * testpp.test_ret_str.argtypes = [ctypes.c_void_p, ctypes.c_char_p] # Указываем, что функция возвращает int testpp.test_ret_int.restype = ctypes.c_int # Указываем, что функция принимает аргумент void * и int testpp.test_ret_int.argtypes = [ctypes.c_void_p, ctypes.c_int] # Указываем, что функция возвращает double testpp.test_ret_double.restype = ctypes.c_double # Указываем, что функция принимает аргумент void * и double testpp.test_ret_double.argtypes = [ctypes.c_void_p, ctypes.c_double] print('Работа с методами:') # В качестве 1-ого аргумента передаем указатель на наш класс print('ret test_ret_str: ', testpp.test_ret_str(test, 'Hello!'.encode('utf-8')).decode("utf-8")) print('ret test_ret_int: ', testpp.test_ret_int(test, 123)) print('ret test_ret_double: ', testpp.test_ret_double(test, 9.87654321)) ## # Работа с переменными ## # Указываем, что функция возвращает int testpp.test_get_a.restype = ctypes.c_int # Указываем, что функция принимает аргумент void * testpp.test_get_a.argtypes = [ctypes.c_void_p] # Указываем, что функция возвращает double testpp.test_get_b.restype = ctypes.c_double # Указываем, что функция принимает аргумент void * testpp.test_get_b.argtypes = [ctypes.c_void_p] # Указываем, что функция возвращает char testpp.test_get_c.restype = ctypes.c_char # Указываем, что функция принимает аргумент void * testpp.test_get_c.argtypes = [ctypes.c_void_p] print('\nРабота с переменными:') print('ret test_get_a: ', testpp.test_get_a(test)) print('ret test_get_b: ', testpp.test_get_b(test)) print('ret test_get_c: ', testpp.test_get_c(test).decode("utf-8")) # Указываем, что функция принимает аргумент void * testpp.test_del.argtypes = [ctypes.c_void_p] # Удаляем класс testpp.test_del(test) ButtonApp().run()
Здесь создается простая графическая программа с одной кнопкой при нажатии которой произойдет закрытие приложения. Основная задача статьи показать как запускать C библиотеки, результат работы увидим в консоли.
Далее создаем папку под проект xcode.
mkdir ios-build cd ios-build
Очень важно, исходники проекта и проект xcode должны находиться в разных невложенных в друг друга папках.
Создаем проект xcode:
toolchain build python3 kivy openssl # very long operation toolchain create test ~/workspace/c_from_python/src/python/ios #<full_path_to_my_app_source_directory>
Все файлы находящиеся в ~/workspace/c_from_python/src/python/ios будут взяты и собраны в установочном пакете (для Android в buildozer.spec все надо было прописывать). В корне ~/workspace/c_from_python/src/python/ios обязательно должен быть файл main.py, содержащий запуск программы.
Теперь открываем проект xcode:
open test-ios/test.xcodeproj
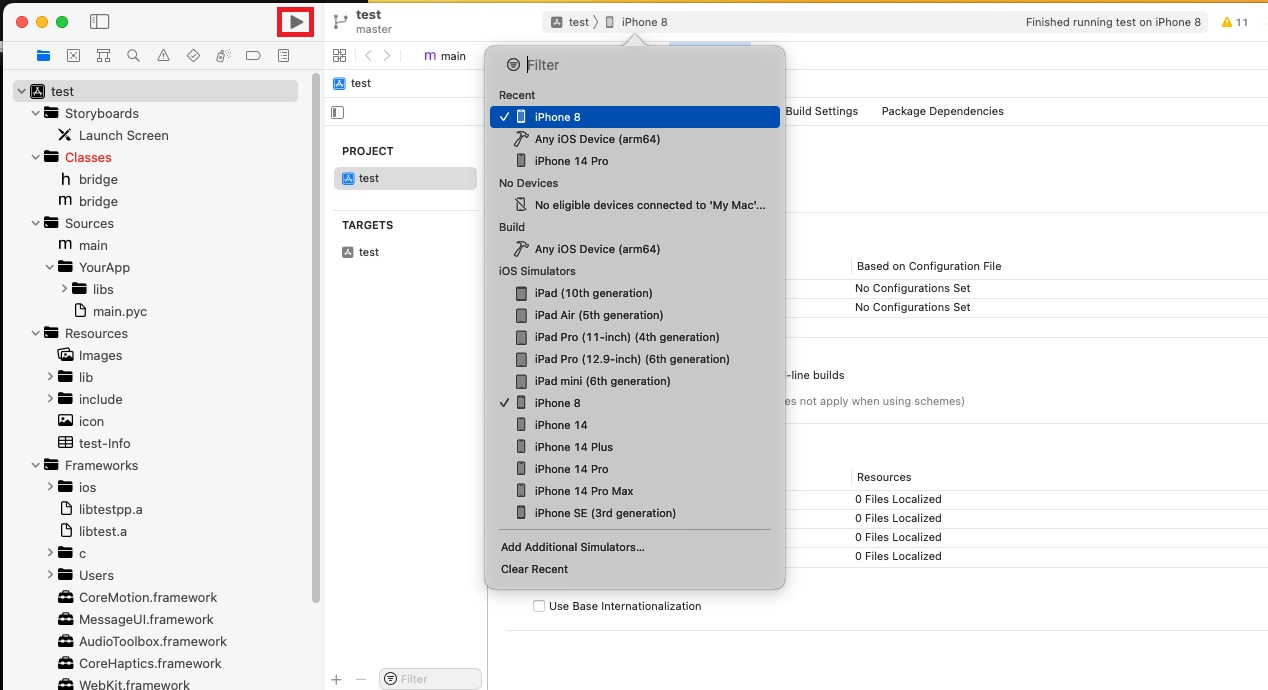
Выбираем эмулятор и нажимаем собрать:
Телефон
Запускал на эмуляторе, т.к. iPhone в железе у меня нет. Приложение стартует автоматически после сборки и получаем следующее — C/C++ отработал без проблем:

На экране телефона видим следующую картинку:

Все отработало как надо. Нажатие на кнопку закрывает приложение. Больше оно ни чего не умеет делать 😉
Спасибо за внимание.
Ссылки
ссылка на оригинал статьи https://habr.com/ru/post/720310/
Добавить комментарий